 Vim motions started making more sense once I stopped reaching for arrow keys.
Introduction
So, you got yourself a shiny new (or old) ThinkPad to put Linux on and flex on r/unixporn and r/thinkpad. You boot into an Arch ISO. Then reality hits—you don’t have internet, and you can’t sudo pacman -S nano your way out of editing locale.conf. Or maybe you fell for the HHKB hype—the allure of a decade-old Japanese keyboard with worn rubber domes, topre goodness you overpaid for on eBay, and no dedicated arrow keys.
Alternatively, like me, you might attempt to ditch your overpriced, overengineered mouse for no logical reason and write code with fewer trips away from the keyboard. Regardless of the reason, you’re here to get your hands dirty and learn Vim.
Contrary to what some Vim evangelists claim, Vim (or Vi IMproved) didn’t adopt its strange motion keybindings just so people could keep their hands on the home row for “efficiency.” Instead, these bindings originated from the ADM-3A keyboard layout, where the HJKL keys were literally the arrow keys. Here’s what that keyboard looked like (yes, there is a “rub” key…):
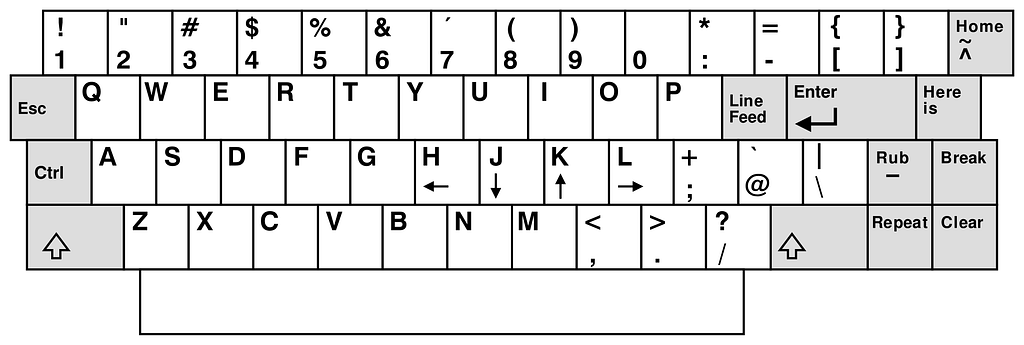
But hey, whatever helps r/linux and the RTFM folks sleep at night.
Let’s dive in.
Setting up Vim in IDE
There exists a Vim plugin for any and every IDE. I will be using Cursor because it has become my autocomplete-heavy scratchpad for scripts and system tweaks.
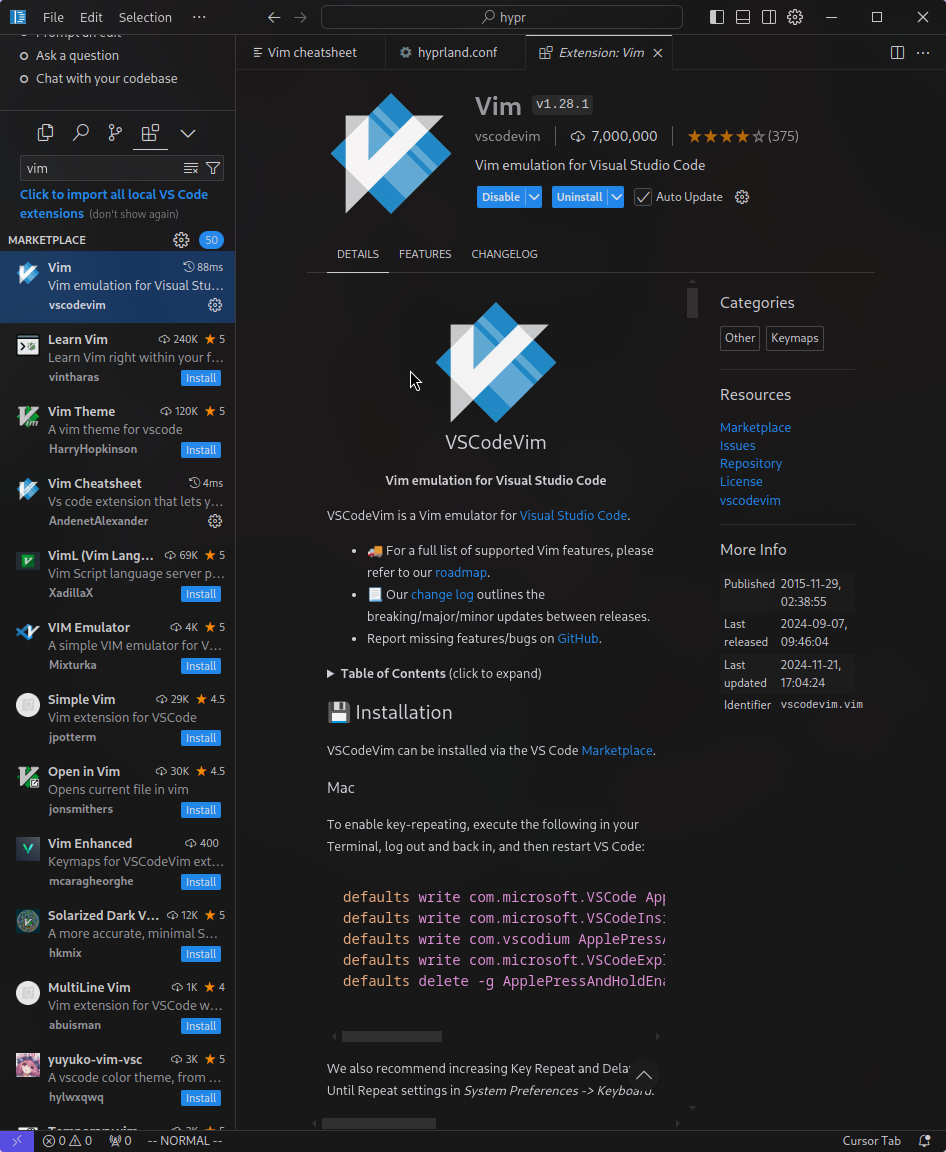 Just download the right extension on your IDE
Type set number to show numbered lines, although this might already be the default behavior of the IDE. Many Vim users prefer relative numbering. Use set relativenumber to enable it. This helps with some motions we will talk about later.
Basic Features
Vim Motions
Vim has three primary modes:
- NORMAL Mode: For navigating and executing commands.
- INSERT Mode: For writing or editing text.
- VISUAL Mode: For selecting and manipulating text.
NORMAL mode is where you type Vim commands. INSERT mode lets you edit text. VISUAL mode lets you select and manipulate text.
In NORMAL mode, use h, j, k, and l to move the cursor:
h(left),j(down),k(up), andl(right).- Preface these commands with a number to repeat them multiple times. For example:
5j
Word and Line Navigation
w: Jump to the beginning of the next word.e: Jump to the end of the current word.b: Jump to the beginning of the current word.
For lines:
0: Jump to the beginning of the line.^: Jump to the first non-empty character in the line.$: Jump to the end of the line.
Advanced Navigation
gg: Jump to the beginning of the file.G: Jump to the end of the file.f<char>: Jump to the next occurrence of<char>.F<char>: Jump to the previous occurrence of<char>.%: Jump between matching brackets or parentheses.
To scroll:
Ctrl+d: Scroll down half a page.Ctrl+u: Scroll up half a page.Ctrl+f: Scroll forward one page.Ctrl+b: Scroll backward one page.
You might want to add funny ASCII art to the beginning of your config. To do this the Vim way, we use gg. To move to the end of the page, we use G (Shift+g).
Editing Text
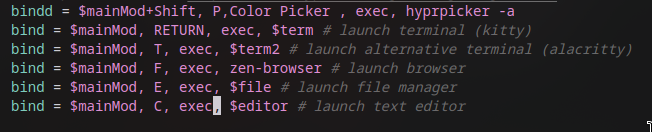 Take note of the cursor position
i: Insert before the cursor.a: Append after the cursor.A: Append at the end of the line.I: Insert at the beginning of the line.o: Open a new line below.O: Open a new line above.
Copy, Paste, and Undo
yy: Copy the current line.p: Paste the copied content.u: Undo the last change.Ctrl+r: Redo the undone change.
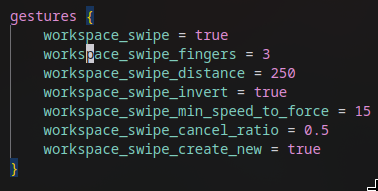
Deleting Text
d: Delete.dw: Delete the next word.diw: Delete the current word.dd: Delete the current line.d$: Delete everything from the cursor to the end of the line.dt<char>: Delete until the occurrence of<char>in the current line.dip: Delete the current paragraph.
You will probably need the last one more often than you expect.
Changing Text
c: Change (delete and enter INSERT mode).ciw: Change the current word.cc: Change the current line.
Use . (dot) to repeat the last change command.
Search and Replace
Search by typing /search_term. Press n for the next match or N for the previous one.
Replace text with: :s/search_term/replace_term/g
For the entire file: :%s/search_term/replace_term/g
For confirmation: :%s/search_term/replace_term/gc
Intermediate Motions
Function Folds
To fold (minimize) a function in your editor, use zc (close). To unfold, use zo (open).
To operate on all functions in the current file, we use zM and zR.
We can select some lines in VISUAL mode and shift them left or right using the < or > keys.
To add the same prefix to multiple lines, use VISUAL BLOCK mode, select the lines, press I, type the prefix, and press Esc.
Macros
- Start recording:
qa(records into registera). - Perform your actions.
- Stop recording:
q. - Replay the macro:
@a. - Repeat on multiple lines:
15@a(executes the macro 15 times).
Case Conversion
gUw: Make a word uppercase.guw: Make a word lowercase.
Bookmarks
Set a bookmark on a line with ma (bookmark a). Jump to it with `a.
Toggle between the last two locations by pressing the backtick key twice.
Running External Commands
Running external commands can be done with something like this:
:read !whoamiYou could also send a block of code, e.g., JSON to a command and parse it.
{
 "firstname" : "quiet",
 "lastname" : "owo"
}
Now running !jq .firstname replaces the block of text with “quiet”.
Conclusion
Congrats, now you can casually drop :wq! into conversations and actually know what it means.
I am still deciding how deep I want to go with Vim, considering school and work, but even the basics have already been useful.